
How To Install Wall Insulation
Are you looking to improve the energy efficiency of your home and reduce your utility bills? Installing wall insulation can be a great solution. Proper insulation helps keep your home cool in summer and warm in winter by minimising heat transfer through the walls.
In this blog, we will walk you through the process of installing wall insulation to ensure that your home remains comfortable all year round.
Materials And Tools You'll Need
Before you begin, gather the following materials and tools:
- Insulation material (such as fibreglass or mineral wool)
- Vapour barrier (if required in your area)
- Insulation hangers or adhesive
- Utility knife
- Tape measure
- Straightedge
- Safety glasses
- Dust mask
- Gloves
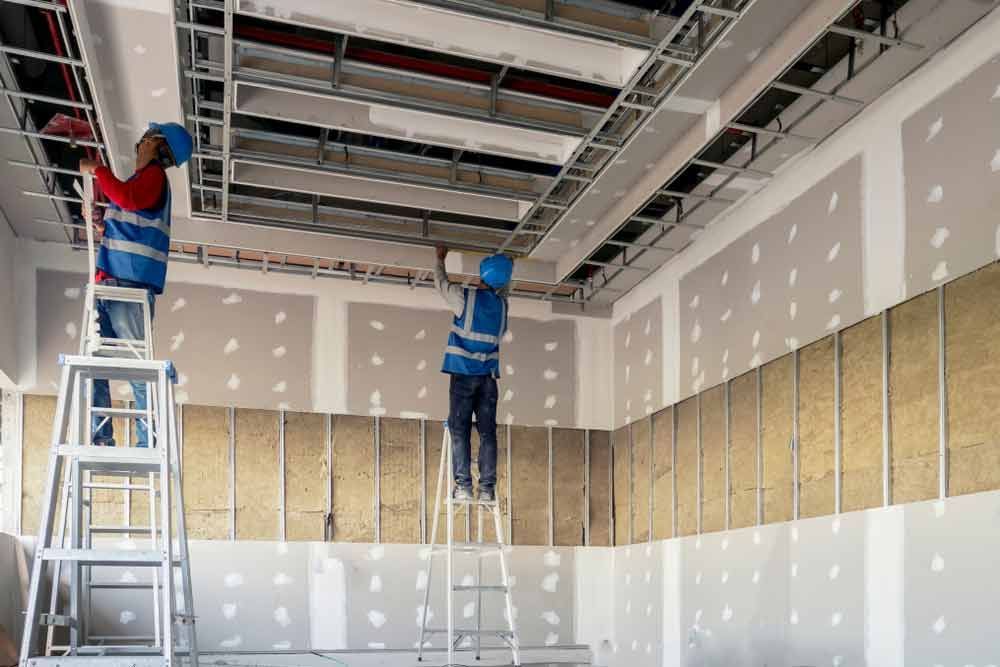
Step 1: Prepare The Work Area
Start by preparing the work area. Remove any obstacles near the walls and clear the space for easy access. Cover the floor with drop cloths or plastic sheets to protect it from any debris or insulation material that may fall during the installation process.
Step 2: Measure And Cut The Insulation
Measure the height and width of the wall cavity where you plan to install the insulation. Using a tape measure, carefully measure the dimensions, ensuring accuracy. Transfer these measurements to the insulation material and mark the cutting lines using a straightedge.
Using a sharp utility knife, cut the insulation material along the marked lines. Remember to wear safety glasses, gloves and a dust mask while handling the insulation to protect yourself from irritation.
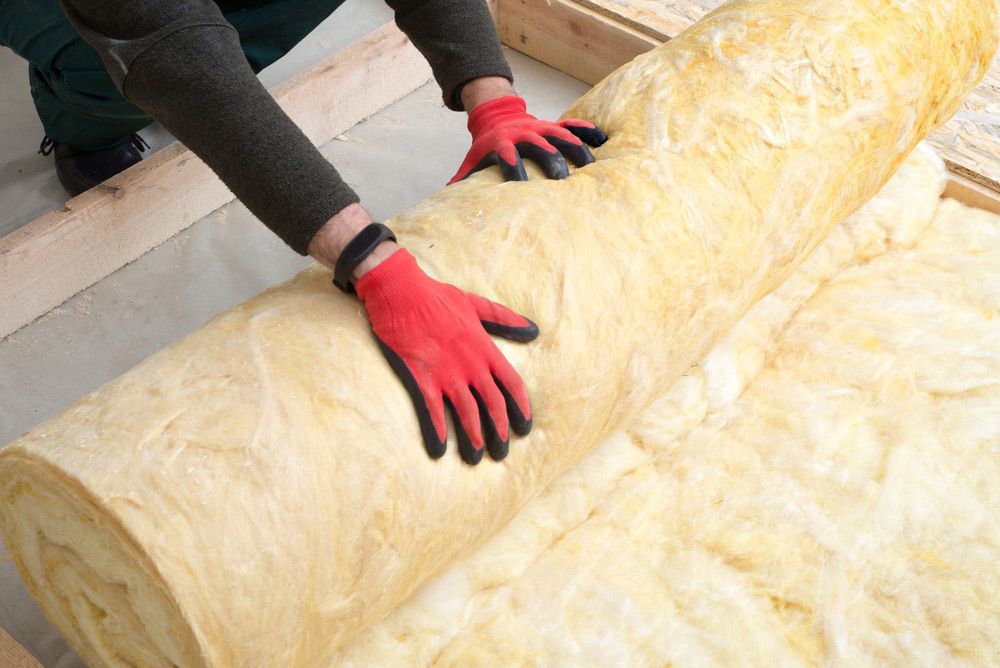
Step 3: Install The Insulation
Now it's time to install the insulation. If you're using fibreglass batts, gently press them into the wall cavities, ensuring a snug fit. Avoid compressing the insulation material, as it reduces its effectiveness. If needed, use insulation hangers or adhesive to hold the insulation in place.
For mineral wool insulation, follow the manufacturer's instructions for installation. Mineral wool often requires specific fastening methods, so be sure to read and understand the guidelines before proceeding.
Step 4: Install A Vapour Barrier
In some areas, it may be required to install a vapour barrier to prevent moisture from seeping into the walls. Check with local building codes to determine if a vapour barrier is required in your region.
If a vapour barrier is needed, attach it to the wall before installing the insulation. The vapour barrier should cover the entire wall surface, with overlapping seams sealed using tape or adhesive.
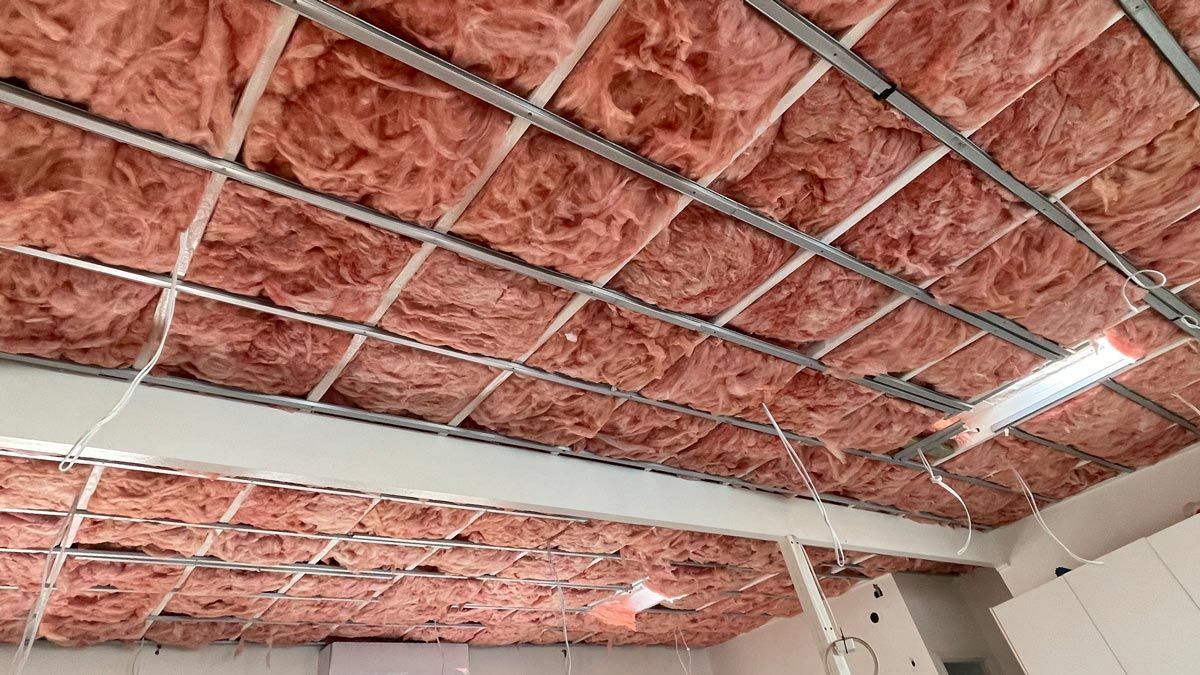
Step 5: Finishing Touches
After installing the insulation, check for any gaps or areas that may require additional insulation. Fill these gaps with small pieces of insulation material, ensuring a complete and continuous barrier.
Reliable Insulation Supplier In Rockhampton
Remember, proper installation is important to achieve effective insulation. If you're unsure about any step or require assistance, it's always best to consult with a professional insulation installer.
At Kev's Fasteners & Construction Supplies, we understand the importance of a well-insulated home. Our wide range of insulation supplies can help you achieve an energy-efficient and comfortable living environment. Contact our team today to explore our products and get started on your insulation project.
COMPANY
CONTACT US


ABN 87 367 430 823
Authorised Repair Agent For Paslode & Bostitch Nail Guns
Awards we have won previously -
HARDWARE AUSTRALIA “TRADES STORES OF THE YEAR”
CAPRICORNIA BUSINESS AWARDS “MICRO BUISNESS OF THE YEAR”
CAPRICORNIA BUSINESS AWARDS “CUSTOMER SERVICE”
TRADING HOURS
- Monday
- -
- Tuesday
- -
- Wednesday
- -
- Thursday
- -
- Friday
- -
- Saturday
- Closed
- Sunday
- Closed
